| 성기사 : 빛의 수호자 우서 | |
|---|---|
| Paladin : Uther Lightbringer | |
| 덱 구성 | 17 10 3 |
| 직업 특화 | 50% (직업 15 / 중립 15) |
| 선호 옵션 | 전투의 함성 (37%) / 도발 (7%) / 천상의 보호막 (3%) |
| 평균 비용 | 4.2 |
| 제작 가격 |
|


- 0
- 16.7% (2장)
- 220.0% (6장)
- 323.3% (7장)
- 43.3% (1장)
- 523.3% (7장)
- 63.3% (1장)
- 7+20.0% (6장)
- 하수인56.7% (17장)
- 주문33.3% (10장)
- 무기10.0% (3장)

Nitrodin : 니트로 성기사
원본 글 : http://www.hearthpwn.com/decks/204687-nitrodin
( 필자는 영어 해석 능력이 매우 떨어집니다. 영어를 잘 하신다면 링크를 타고 들어가세요! )
이 덱은...
- 세 가지의 중요한 부분에 초점을 맞추고 있습니다.
[ 카드 드로우, 필드 클리어, 힐 ]
- 이기기 위한 특별한 조건이 없습니다. 이기려면 간단하게 적 영웅의 피를 0으로 갈아버리는겁니다!
- 다양한 드로우의 선택지를 가지고, 성기사의 특징적인 필드 클리어 능력과 '겉보기에는' 끝없이 공급되는 체력으로 적의 자원을 말라버리게 할 수 있습니다.
- 어그로덱은 아니지만, 매우 폭발적인 능력을 갖고 있습니다. 진지하게, 말장난은 의도하지 않았습니다.
... 네, 사실 조금은 했어요. (원문 : though not aggressive, possesses the ability to be very explosive. Seriously, no pun intended. Ok, maybe just a little.)
- 컨트롤이 전부입니다. 그리고 목표는 적을 마모시키는거죠.

카드 드로우 엔진
카드 드로우는 몇 가지 다른 방법으로 다루어지고, 게임을 승리로 이끄는 핵심입니다.
카드를 처리하는데에 당신이 많은 카드를 갖고 있다는 것은 게임에서 발생하는 많은 시나리오에 대한 다양한 해결 방법을 제공하죠.
그것은 당신의 패에 있는 최소한의 카드들을 효과적으로 사용하려는 이 덱의 성격과는 맞지 않습니다.
니트로 성기사 덱에서는 어떤 덱에서도 가장 중요한 측면인 세 가지의 간접적인 드로우 수단과 세 가지와 직접적인 드로우 수단을 갖고 있습니다.
(원문 :Card draw is handled in a few different ways and is integral in winning your games. Having many cards at your disposal provides you with a wide range of solutions for any scenario that presents itself. It is not in the nature of this deck for your hand to run out of cards due to the most effective plays only requiring minimal card use. Being probably the most important aspect of any deck, Nitrodin contains three Indirect and three Direct methods of drawing cards.
제 해석 능력이 부족합니다. ㅠㅠ 죄송합니다.)

이 카드는 이 덱에서 가장 저 코스트인 드로우 카드이고, 이 카드를 사용했을 때 적어도 한 장의 카드는 드로우해야합니다.
가끔은 당신의 하수인에 사용하는 것보다 적의 하수인에 사용하는 것이 유리하다는 것을 볼 수 있을 것입니다.
이 카드를 사용할 대상은 상대가 반드시 공격을 시행하고 싶어하는 하수인이 적절합니다.
만약 상대가 당신에게 드로우를 주지 않으려고 할 때 상대는 데미지를 주는 것도 포기해야 합니다.
이 카드가 상대 하수인의 공격을 막지 못할 때 당신은 카드를 드로우하게 됩니다.
많은 드로우를 하기 위해선 쉽게 죽지 않는 좋은 아군 하수인에게 걸어주는 것이 좋습니다.
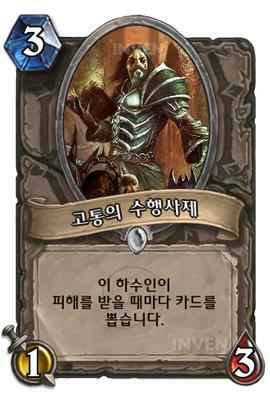
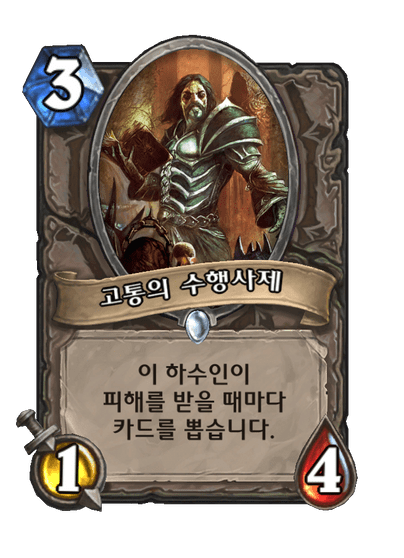
당신은 이 덱의 카드 시너지로 인해 고통의 수행사제로 세 장의 카드를 드로우할 수 있습니다.
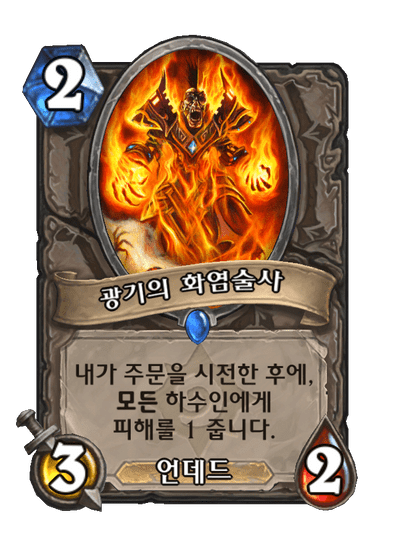
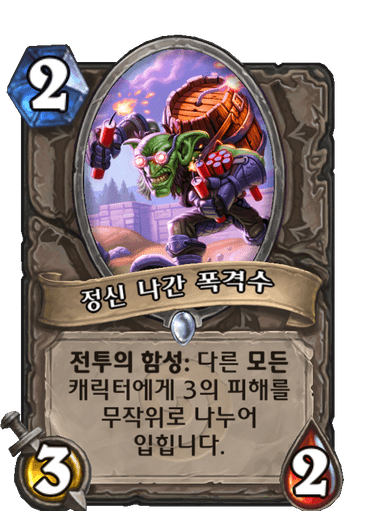
광기의 화염술사와 함께 사용하면 만족스럽지만, 정신 나간 폭격수와 완전히 정신 나간 폭격수와 함께 사용한다면 당신의 카드 드로우 확률을 극대화시킬 수 있습니다!
가끔 운이 안 좋게도 드로우를 하지 못 할수도 있습니다...
보통 폭격수가 아군 하수인을 쏘는 것은 좋지 않은 상황이지만, 고통의 수행사제는 당신이 매우 쏘고, 또 쏘고 싶어할 것입니다.
카드 드로우는 고통의 수행사제의 전부입니다.
공격력 1의 하수인을 원한다면, 당신은  은빛 성기사단 신병이 있습니다.
그러므로 즐겁게 고통의 수행사제에게 폭탄을 투척!!
절 믿으세요, 그렇다면 그는 즐길겁니다!
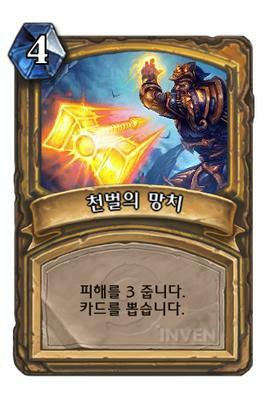
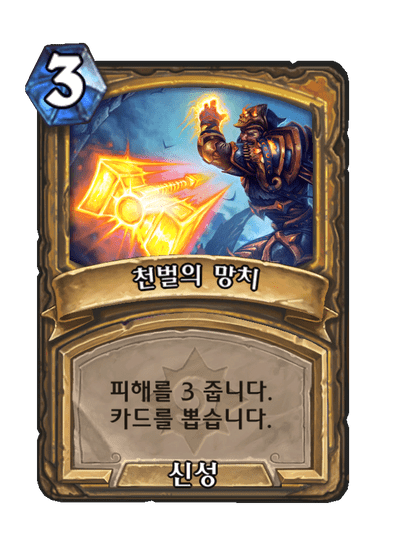
이 카드는 간단명료합니다. 피해를 3 주고, 카드를 1장 뽑죠.
당신은 이 카드를 쓰기 위해 4 코스트를 써야 하기 때문에, 낭비하지 않아야합니다.
상대 영웅에게 이 카드를 쓰는 것은 별로 추천하지 않습니다만.. 뭐, 당신의 재량에 달려있...
아닙니다. 낭비하지 마세요!
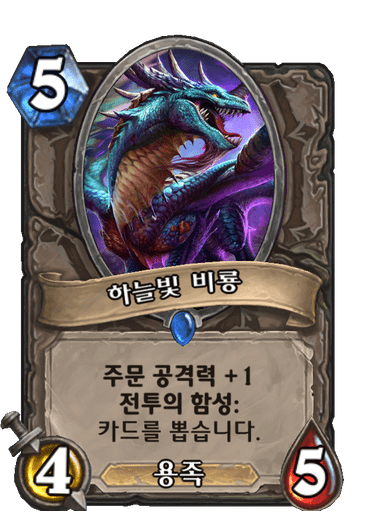
이 카드의 5 코스트, 4/4 의 능력치, 카드 드로우 능력은 충분히 이 덱에 들어갈 이유가 됩니다.
하지만 당신은 이 카드와 함께 주문의 데미지 버프를 기대해볼 수 있습니다.
빈 필드에 5 코스트의 하수인을 내고 싶다면 폭탄 투척수를 대신하여 더 넣을 수도 있습니다.
폭탄 투척수는 빈 필드에 나가면.. 음..

필드 클리어
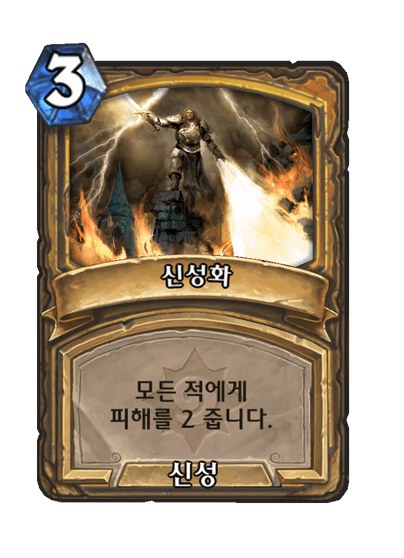
신성화가 성기사의 가장 평범한 광역기임에도 불구하고, 성기사가 필드를 지워버릴 수 있는 방법과는 거리가 꽤 멉니다.
이 덱의 필드 클리어 방법은 매우 다양하고 항상 무자비합니다.
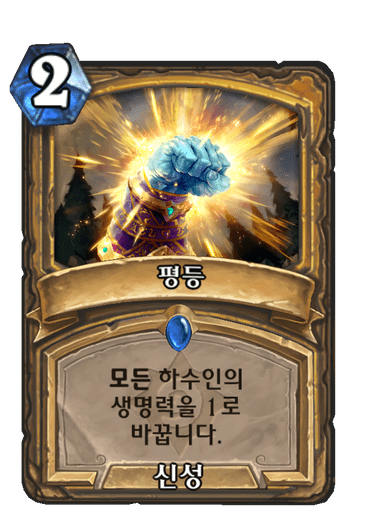
평등은 필드 클리어링을 위한 중요한 카드이고, 많은 콤보를 극대화시킬 수 있는 아주 효과적인 카드입니다.
콤보를 떠나서라도, 평등은 은빛 성기사단 신병과 함께 적의 무시무시한 하수인을 교환할 수 있게 하는 몹시 좋은 카드입니다.
그러나 평등이 더 활동적이고 폭발적인 카드와 함께 할 때, 몹시 재밌고 신나는 카드가 될 것입니다.
Equality + Mad Bomber ( 평등 + 정신나간 폭격수 )
Mad Bomber only throwing 3 barrels makes this Equality combo very low tier. However, it is still useful and with a little luck can get you out of a pinch. Mad Bomber is best used as a combo with Madder Bomber in a single turn for a useful 9 damage distribution. If you do choose to perform this double Bomber Equality combo you should probably play Mad Bomber after Madder Bomber.
Equality + Madder Bomber ( 평등 + 완전히 정신나간 폭격수 )
Exciting is the word that best describes this combo. The random element present with Madder Bomber decreases the desire to rely on it as an effective means of board clear. Even so, I personally tend to use this far more than I probably should. Having a body on the board after a clear is a big step in terms of control.
Note: As it pertains to using Equality and the Bombers, you might be thinking you will also die or, if unlucky, only you will die. But ask yourself this... If you have minions on the board, why are you using Equality in the first place? Equality and the Bombers are meant to be used when you are at a disadvantage or have completely lost the board. You want to use that combo only when the opponent's minions are the ones that will be killed. Play smart and choose the right combo for the situation.
Wild Pyromancer + Equality ( 광기의 화염술사 + 평등 )
One of the more powerful board clear options and pretty much an absolute one, no matter how big or small the opposition might be. If you want, but preferably need, everything gone, this is your combo for a mere 4 mana.
Equality + Consecration ( 평등 + 신성화 )
This is a powerful board clear, and unlike the Wild Pyromancer combo, it only clears the opponent’s side of the board. This is one of the more popular Equality combos, tried-and-true, so use with confidence.
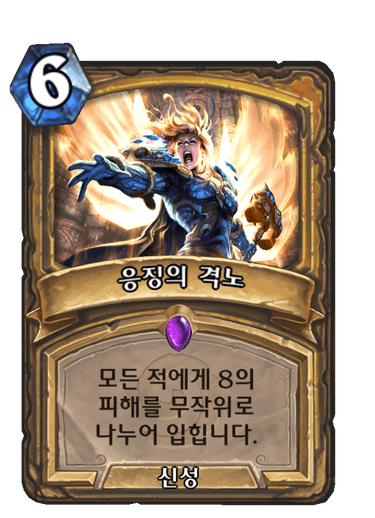
Equality + Avenging Wrath (Personal Favorite) ( 평등 + 응징의 격노 )
This combo is somewhat of a hybrid. Like Consecration, this only affects the opponent’s side of the board. However, like Madder Bomber, it distributes the damage randomly. This combo will win you games, and you will on occasion want to save it for use as a win condition. If you find that your opponent is preventing you from getting in that last bit of damage because they have Taunts, or high health minions that will soak up the damage from Avenging Wrath, use Equality to bypass that problem.
Very Important Note on Board Clear: There are times when it is necessary to split your Board Clear across multiple turns.For example, if you are on Turn 3 and have Equality and Consecration in your hand, don't try and wait for turn 6 to use it if you are under pressure. Play Equality on Turn 3 and use Consecration on Turn 4. Another example, which is shown in the video Vs. Druid, Equality was used on Turn 4 and Madder Bomber played on Turn 5. Though that was not an aggro match, trying to only use board clear in a single turn as a single combo is not the best or only way to effectively clear the board. You will be required to bend the traditional way you think of Board Clear in order to increase your success with this deck.

체력 회복
당신은 죽음을 피하기 위해 당신이 받는 피해를 완화할 방법이 필요합니다;
니트로 성기사는 그 방법이 6가지나 있습니다.
이 덱에서 제공되는 힐량을 포함하면 상대는 당신을 죽이기 위해 두 번을 죽여야 합니다.
당신은 실제적으로 덱의 힐 카드로 인하여 60의 체력을 가집니다.
이 체력 회복 값은 알렉스트라자를 통한 회복을 고려하지 않았습니다.
알렉스트라자는 당신의 체력을 최대 14만큼 회복시킬 수 있습니다.
당신의 체력이 1일때 한 번의 전환점이 더 있는겁니다.
이 추가적인 자원은 상대에게 당신을 반쯤 더 죽일 기회를 줍니다. (으어어)
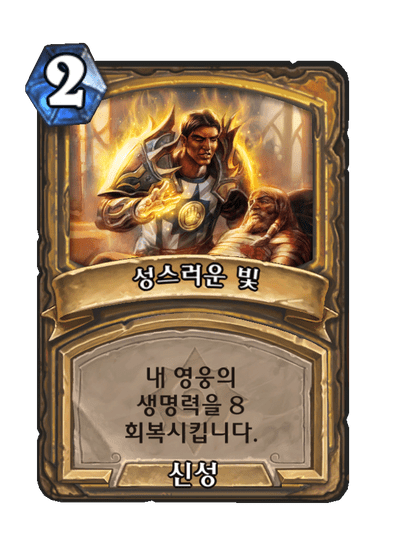
Holy Light ( 성스러운 빛 )
This is your low cost healing option, and the cost is its true benefit. While replenishing 6 points of health, which can be allocated anywhere, it allows a minion to be played along with it. In fact, you can stack this card with a minion like Guardian of Kings or Antique Healbot for 12-14 points of healing in a single turn.
요약 : 저 코스트의 힐 카드입니다. 왕의 수호자 또는 낡은 치유로봇과 함께 한 턴에 12-14 힐을 할 수 있게 해줍니다.
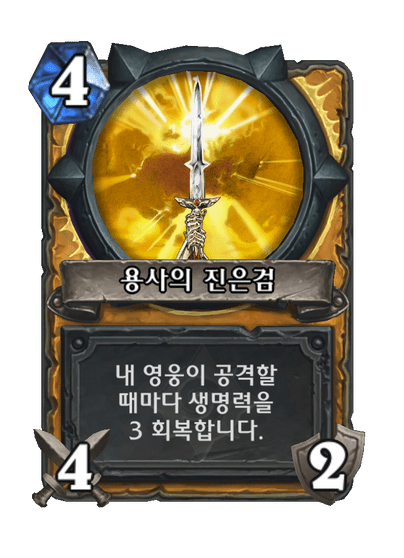
Truesilver Champion ( 용사의 진은검 )
This weapon while mainly used for dealing 4 damage to the enemy, also restores 2 points of health to your Hero. In desperate times, you can use Truesilver Champion on the opponent's face for a small heal. Those 2 points of health could very well be the difference between life and death.
요약 : 진은검의 2힐이 삶과 죽음의 갈림길에 몹시 큰 영향을 미친답니다.
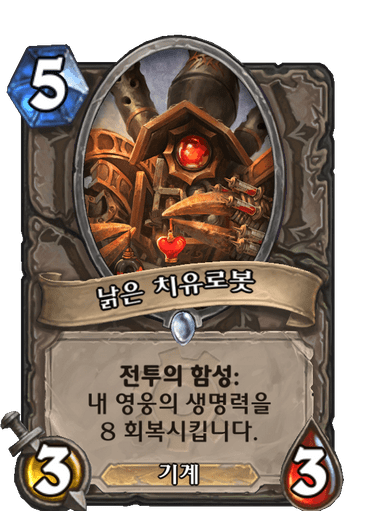
Antique Healbot ( 낡은 치유로봇 )
This card is simply a life saver. Turn 7 is quite late in the game when you face aggressive decks. Having access to such a substantial heal by turn 5 is invaluable. This card is one you might consider holding onto if you suspect you are facing an overly aggressive deck.
요약 : 당신의 구세주입니다. 우오오
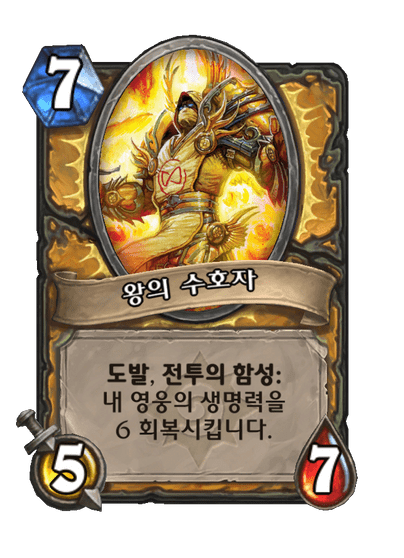
Guardian of Kings ( 왕의 수호자 )
You generally would not want to pay 7 mana for a 5/6 body, but this card's Battlecry greatly makes up for the cost. A 5/6 body is by no means anything to scoff at, and after directly restoring 6 health to the Hero, it does a good job trading on the board.
요약 : 보통 5/6의 하수인에 7 코스트나 지불하고 싶지 않으시겠지만, 6 힐의 전투의 함성은 몹시 좋답니다.
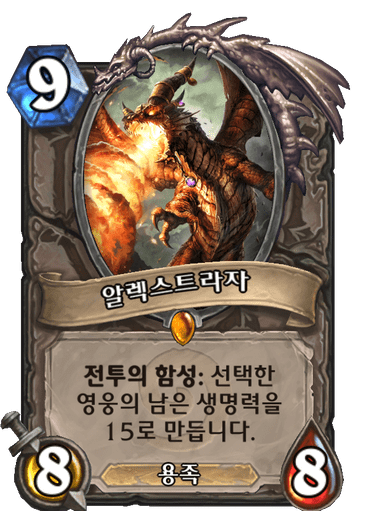
Alexstrasza ( 알렉스트라자 )
This minion acts as your finisher when strong, and your savior when weak. Having this card in hand allows you to be a bit more aggressive and risky; Being able to take risks confidently will give you the upperhand. You can bring your health down to a single point (1HP) knowing Alexstrasza will come in to set it at 15HP. I don't recommend ever using this card to restore health if you have any other standard healing option available to you. Ideally, this card should be your very last Health Restoration option.
요약 : 당신을 살려주기도 하고, 피니시에도 좋습니다.

기술적 하이라이트
니트로 성기사 덱에 있는 모든 카드들은 활동적입니다.
비록 대부분이 반응을 보이지만, 근본적으로는 활동적입니다.
(원문 : All cards in the Nitrodin deck are meant to be active.
Even though the majority are reactive, they are essentially active )
이 덱에선 필드에 나와서 아무것도 하지 않는 카드가 매우 적습니다.
대부분의 카드가 효과를 가집니다.
일부는 다른 카드들보다 약간 더 기술적이고, 현재 게임 환경을 해결하기 위해 포함되어 있습니다.
(원문 : Some are a bit more technical than others and included to address the current game environment.)
또한 어쩔 수 없이 이 덱의 세 가지 초점에 맞지 않는 카드들이 들어가있지만,
그 카드들은 몹시 강력하고 덱의 안정성에 있어서 매우 귀중합니다.
Coghammer ( 톱니망치 )
You might notice there aren’t any Taunt minions in the Nitrodin deck, but you do have access to the Taunt abilitity. Coghammer provides more than sufficient Taunt, especially early in the game where aggressive decks are most dangerous. While giving Taunt and Divine Shield to a minion, the Coghammer also allows Uther to get in on the action early. There is so much value packed into this single card, and needless to say, you always want Coghammer in your starting hand.
요약 : 이 덱에 도발 하수인이 없는 이유입니다. 멀리건에서 반드시 이 카드를 들고 가세요!
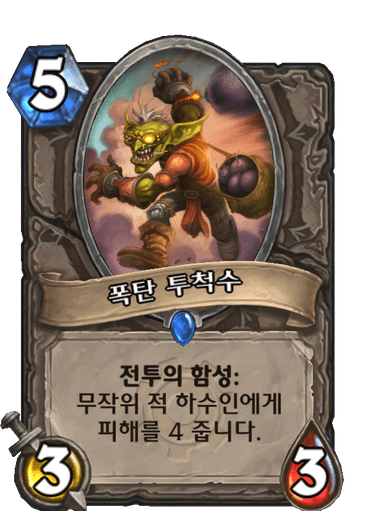
Bomb Lobber ( 폭탄 투척수 )
This is such an interesting and extremely handy minion. This card will make you see 4 Health everywhere you look asking to be taken away. 5 mana for a 3/3 body is absurd, but Bomb Lobber’s Battlecry makes his poor stats disappear. Never play this minion if there is no enemy minion for you to benefit from the Battlecry. Even if Bomb Lobber is the only card in your hand, remember you are a Paladin, just make a guy (Silver Hand Recruit).
요약 : 택배와쪄염!! 히힣헿ㅎ헤!!! 빈 필드에 내지 마세요. 당신은 성기사랍니다. (임무를 내려주시죠!)
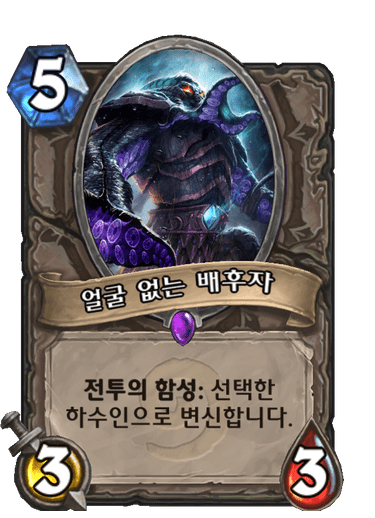
Faceless Manipulator ( 얼굴없는 배후자 )
This card can be used to replicate Troggzor the Earthinator to double up on spawned minions, but it’s more favorable to replicate Ragnaros the Firelord. Replicating those particular minions is not the sole purpose for the card as there are many enemy cards out there worth copying to use for your benefit. A less popular but great use of Faceless Manipulator is to replicate a minion after giving it Blessing of Wisdom.
요약 : 트로그조루 또는 라그나로스와 함께라면 어떤것도 두렵지 않습니다. 지혜의 축복과 함께 써도 좋습니다.
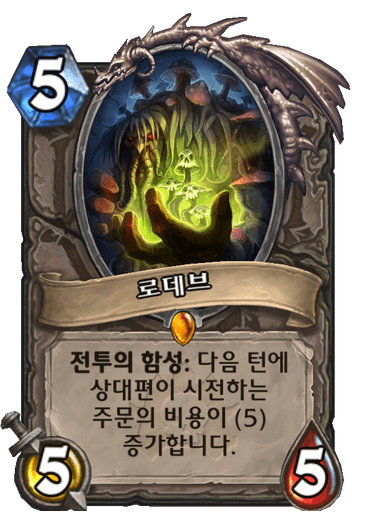
Loatheb ( 로데브 )
The slot that this card fills in the deck is very flexible. It can be replaced by any tech card deemed necessary or more fitting for the environment you are in. Loatheb is here to put a halt on Rogue when she is ready to Oil, among other things. Harrison Jones could replace Loatheb if you much rather destroy the weapon and draw a card or two. Maybe secrets are all you see and prefer a Kezan Mystic, it is entirely up to you. Loatheb has grown on me with this deck, and i find it handy in situations other than what the intent was when originally included.
요약 : 그냥 좋습니다. 해리슨 존스 또는 케잔 비술사 와 교환이 가능합니다.
Troggzor the Earthinator ( 대지종결자 트로그조르 )
This minion might seem out of place, but it obviously has not replaced the mighty Dr. Boom. The reason for using Troggzor is due to the abundance of spells being used and relied on in decks. Troggzor near guarantees a 10 mana value. If Tirion Fordring were silenced he would be exactly the same as a silenced Troggzor. Coghammer can also be used to make Troggzor a 6/6 taunt with Divine shield If you so choose. If the opponent tries to use any spell at all, it results in a 4 mana minion spawning. Simply put, Troggzor can be a pain to deal with, especially on an empty board. 7 mana paid, 10+ mana value attained.
요약 : 박사 붐 과 교환해선 안됩니다. 만약 티리온 폴드링 이 침묵을 당할 경우, 트로그조루가 침묵당한 것과 똑같습니다! 톱니망치 와 함께라면 티리온이 됩니다.

티리온은 사실 알렉스트라자의 등 위에 타고 있답니다! 하하하!
그는 잠시 우서를 피해서 휴가를 나갔답니다.
( 원문 : Tirion is riding on the back of Alexstrasza. He figured commanding a Dragon would be handy in crushing the opposition. Wait...
Did you actually think you were capable of controlling Alexstrasza all on your own? Hahaha, you’re a funny one, I like your spirit! Tirion decided he would take time off from being Uther's Meat Shield and actually enjoy himself for a change. )

멀리건
톱니망치 는 게임을 시작할 때 무조건 들고 가야하는 카드입니다.

- 폭탄 투척수 는 동전과 함께 있을 때 우선 순위가 높아집니다.
- 낙스라마스의 망령 을 제거하기 좋은 수단입니다.


- 성스러운 빛 은 광기의 화염술사 가 핸드에 잡혔을 때 낡은 치유로봇 과 교환하기 좋습니다.

- 성스러운 빛 은 낡은 치유로봇 과 핸드에 같이 잡혔을 때 같이 들고가면 좋습니다.

- 천벌의 망치 는 동전과 함께 있을 때 우선 순위가 높아집니다.
- 성스러운 빛 은 이미 핸드에 있을 때 낡은 치유로봇 을 대신할 수 있습니다.


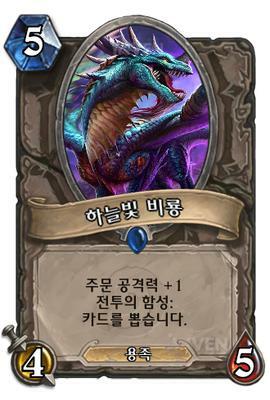
- 완전히 정신나간 폭격수 와 하늘빛 비룡 은 동전과 함께 있을 때 우선 순위가 높아집니다.

덱 승률
게임 플레이 영상 : https://www.youtube.com/playlist?list=PLPNvBMPznn9rejk4RQTHfHzs4tTWRj2DZ
FAQ
Have you considered Seal of Light? ( 빛의 인장은 고려해보셨나요? )
I never added Seal of Light because it only healed for 4. Even though it provides 2 attack, that missing extra 2 health could be vital. The 2 attack is less beneficial in this particular deck since I have access to Coghammer which provides 2 attack across 6 turns. But Seal of Light is worth experimenting with.
(요약 : 성스러운 빛 이 6힐이라 더 좋던데... )
Is there a replacement for Troggzor the Earthinator? ( 대지종결자 트로그조르 를 대체할 게 있나요? )
Tirion Fordring is an auto replacement for Troggzor. If you don't have Tirion, this slot is meant for a minion that is annoying to deal with, and hopefully also benefits from being out of Big Game Hunter range.
(요약 : 티리온 폴드링 이죠! ^^ 나 이런 사냥꾼이야 도 나쁘지 않습니다. )
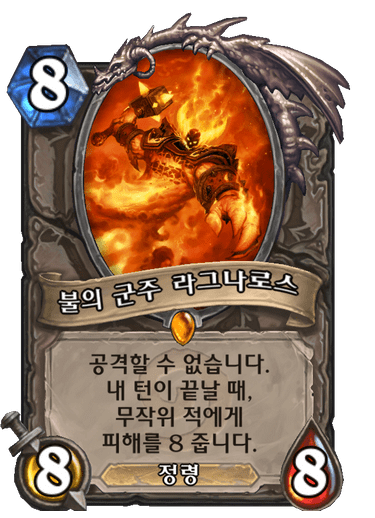
Is there a replacement for Ragnaros the Firelord? ( 불의 군주 라그나로스 를 대체할 게 있나요? )
Ragnaros is hard to replace because nothing has his explosive damage upon being played. I could only recommend replacing him with another strong card of your choosing. I would recommend something you would probably want to use Faceless Manipulator on. Personal replacements for me might be Kel'Thuzad, Foe Reaper 4000 (this card lol), Sylvanas Windrunner, or Sneed's Old Shredder to name a few.
(요약 : 폭발적인 데미지를 위한 카드라서 대체하기 힘듭니다. 얼굴 없는 배후자 와 함께 사용할 수 있는 켈투자드, 전투 절단기 4000 (이 카드 재밌음), 실바나스 윈드러너, 또는 스니드의 낡은 벌목기 정도가 괜찮겠네요. )
Is there a replacement for Alexstrasza? ( 알렉스트라자 를 대체할 게 있나요? )
This card is very unique, the only thing i can think of is just replacing it with another good card, or you could use Lay on Hands to make up for Strasza's restoration ability and draw into 3 more options. Lay on Hands seems to be the popular choice among the comments.
(요약 : 이 카드는 무지 특이하기때문에 교체하기 힘듭니다. 신의 축복 정도가 괜찮겠네요. )
*Overall when looking for Card Replacements you should replace with Strong Cards and not weaker replica-like versions.
What if I don't have Coghammer, and Bomb Lobber? ( 톱니망치 와 폭탄 투척수 가 없으면요? )
User recommendation: Replace missing cards with Truesilver Champion, Harvest Golem and Spider Tank x2. Helps greatly with early game at the moment.
(요약 : 용사의 진은검, 허수아비 골렘, 거미 전차 정도가 괜찮습니다. )
What if I only have 1 Coghammer? ( 톱니망치 가 한 장밖에 없어요.. )
Add a Truesilver Champion
(요약 : 용사의 진은검 을 쓰세요. )
Is it even possible to win with all the RNG?
User response: I'm usually a big fan of Shaman-Decks, but this season is completely weird and nothing I've tried so far seemed to work out, so I started to browse hearhtpwn for some new ideas. I got attracted by this detailed guide... and decided to give a Pally-Deck a chance...
While copying this deck (1:1), I thought "Oh my...this chaotic pile of cards won't win even 1 game". I just lost the first match so far, this deck brought me from rank 12 to rank 6 in no time and i had tons of fun!!
http://www.hearthpwn.com/decks/204687-nitrodin?comment=85
(요약 : ㅈㅅ 해석 못하겠음)
How do I deal with Aggro?
How you use the board clear is important, do not try to combo Equality in the same turn if you are under too much pressure. For example, if you are on Turn 3 and have Equality and Consecration in your hand, don't try and wait for turn 6 to use it. Play Equality on Turn 3 and use Consecration on Turn 4. Unless the opponent is running Wailing Soul, or wastes a silence on their early game minion, they won't magically regain their health. The Bombers are excellent at this tactic because you can Equality in a previous turn and follow up with Bombers for a board clear later. If you are making your Silver Hand Recruit and the opponent is not killing them then Equality is even more valuable by itself. If the 1/1 Recruits are being killed then it means damage to your face is being reduced and mana is being 'wasted' (Mage fireblast).
The aggro decks being run are very efficient with their cards (always have been). If you are not aggro also, your tactic is to simply exhaust them (mainly their hand). Think about what a Warrior would do. How would a Warrior deal with aggro? And think about what turn a warrior actually starts playing. If you have no removal, you are dead. If the opponent has perfect turns, and you have no removal at all... every deck is dead. Priest has to rely on Auchenai Soulpriest + Circle of Healing to clear the board and even that can't kill a Mechanical Yeti; At least Equality + Wild Pyromancer can, so that puts you in a better position.
Another underused tactic is giving the opponent's best attacker Blessing of Wisdom. If you don't draw into a solution somehow, you just have to accept it (it's the nature of the game). If we all could go into our decks freely and play what we want and draw what we want, aggro wouldn't even exist. GvG made aggro even more efficient and you either have the solution on hand or not. Just how it is.
(요약 : ㅈㅅ 해석 못하겠음2 )
아래는 원작자의 유투브, 트위터, 하스폰 입니다.
YouTube - lHlakai
Twitter - lHlakai
Hearthpwn - lHlakai Decks
코멘트
코멘트(0)